
Little Dreamers Gatefold Easel Card


Today I'm doing a video hop with my friends from the International Crafters Video Hop Team. It's my first time in this type of hop - you can check out all of the videos featuring Baby/Kids Projects from the list below. I hope you'll take the time to hop from video to video and subscribe and leave comments!
My card today is a Gatefold Easel Fold Card. It is so much fun to make and isn't really that difficult. I've seen a few versions of the card on social media, but used Sharon Armstrongs blog as my inspiration.
I love the Stampin' Up! Little Dreamers bundle. I don't usually buy baby/kids stamp sets, but the little critters in this one are so dang cute I couldn't resist! Check out how fun this card is for a new baby girl!

.jpg)
Instructions - if you have questions, check out my YouTube Video
- Score 8 1/2" x 11" piece of Bubble Bath cardstock at 2 1/8" on each side of the 8 1/2" side. Turn 90 degrees and score at 5 1/2" on the 11" side.
- Use your trimmer to cut on the 2 1/8" scoreline to the 5 1/2" scoreline and then turn and cut from the 2 1/8" scoreline to the edge. Repeat on the other side to remove the top rectangles on the top sides of the cardstock
- Trim 1/6" off of each side of the remaining flap on the top of the cardstock - this will reduce the bulk when the card is folded
- Score the top flap across at 2 3/4"
- Fold and burnish on scorelines using Bone Folder - the 2 flaps on the bottom fold inwards and the top flaps folds down.
- Cut 2 pieces of Designer Series Paper 2" x 5 1/4"
- Adhere to the front flaps
- Cut Designer Series Paper 4" x 5 1/4"
- Adhere to the inside of the card
- Cut Berry Burst cardstock 4" x 5 1/4"
- Cut Basic White cardstock 3 3/4" x 5"
- Emboss using Cascading Ruffle Embossing Folder
- Adhere to the Berry Burst cardstock
- Adhere to the bottom of the top flap - this is your easel
- Cut Berry Burst cardstock 1" x 3 1/2"
- Cut Basic White cardstock 3/4" x 3 1/4"
- Stamp sentiment on Basic White cardstock using Tuxedo Black Memento Ink
- Adhere to Berry Burst cardstock
- Adhere to bottom of inside of card about 1/2" from bottom using Dimensionals - this is your "stopper" for the easel
- Stamp lion on Basic White cardstock using Tuxedo Black Memento ink
- Colour using Stampin' Blends - Crumb Cake, Pecan Pie and Berry Burst
- Cut out using Die
- Cut out 2 small and 1 large cloud using Die from Basic White cardstock
- Colour clouds using Pool Party Stampin' Blends
- Adhere clouds to embossed Basic White cardstock using Dimensionals.
- Adhere lion using Dimensionals.
- Cut Bubble Bath cardstock 1" x 11"
- Wrap loosely around card base and adhere ends together with seam on front
- Cut Designer Series Paper 3/4" x 4"
- Adhere to Belly Band
- Cut Basic White cardstock 1" x 1 3/8"
- Stamp sentiment using Tuxedo Black Memento Ink
- Cut Berry Burst cardstock 1 1/8" x 1 1/2"
- Adhere Basic White to Berry Burst cardstock
- Adhere to Belly Band using Dimensionals
- Stamp 2 shooting stars on Basic White cardstock using Tuxedo Black Memento ink
- Colour using Wild Wheat Marker and Berry Burst Blends
- Cut out using Dies
- Adhere to card base using Dimensionals
- Cut out 2 sets of stars using Dies from More Dazzle Paper
- Adhere 5 to front of card and 1 on the inside using Glue Dots
- Adhere Pink Pastel sequins
.jpg)
You can find all of the supplies for this card in my Online Store.
.jpg)
Check out my Youtube Video for tips and tricks to make this card. Don't forget to subscribe to my Stamping with Melva YouTube Channel!
Now it's time to be inspired by all of the Projects in our Video Hop! Use the links below to hop through all of the videos - leave a comment and subscribe to our channels as you go!
- Maheswari Rajaguru - https://youtu.be/bx82O4XADSI
- Melva Peters - https://youtu.be/r3zem2n2DLc - You're here!
- Diane Evans - https://youtu.be/Fhaw4kR94m4
- Elly Rinjvis - https://youtu.be/0t2UGqXthAs
- Sandy McCullough - https://youtu.be/c58P03NeADE
- Tracy Held - https://youtu.be/6Wox5U0Ctpg
I hope you have been inspired!
Shopping with Me!
Use the following links a copy of the catalogue, you can download a PDF version from this link:
If you would like to receive a catalogue, please click below and fill out the form.
Click here to request a catalogue.

Please be sure to use the current Host Code XRNYTMZW to receive a free gift from me. When you place a $50 order (before shipping and taxes) using the Host Code, I'll send you a Thank You card by mail and a FREE tutorial by email as a thank you. If your order is over $200, please do not use the Hostess Code as you'll qualify for Stampin' Rewards, but I'll still send you the Thank You card and tutorial!
You can also purchase this tutorial with 10 "Masculine" Themed tutorials for $20! Check them out in my Square Store!
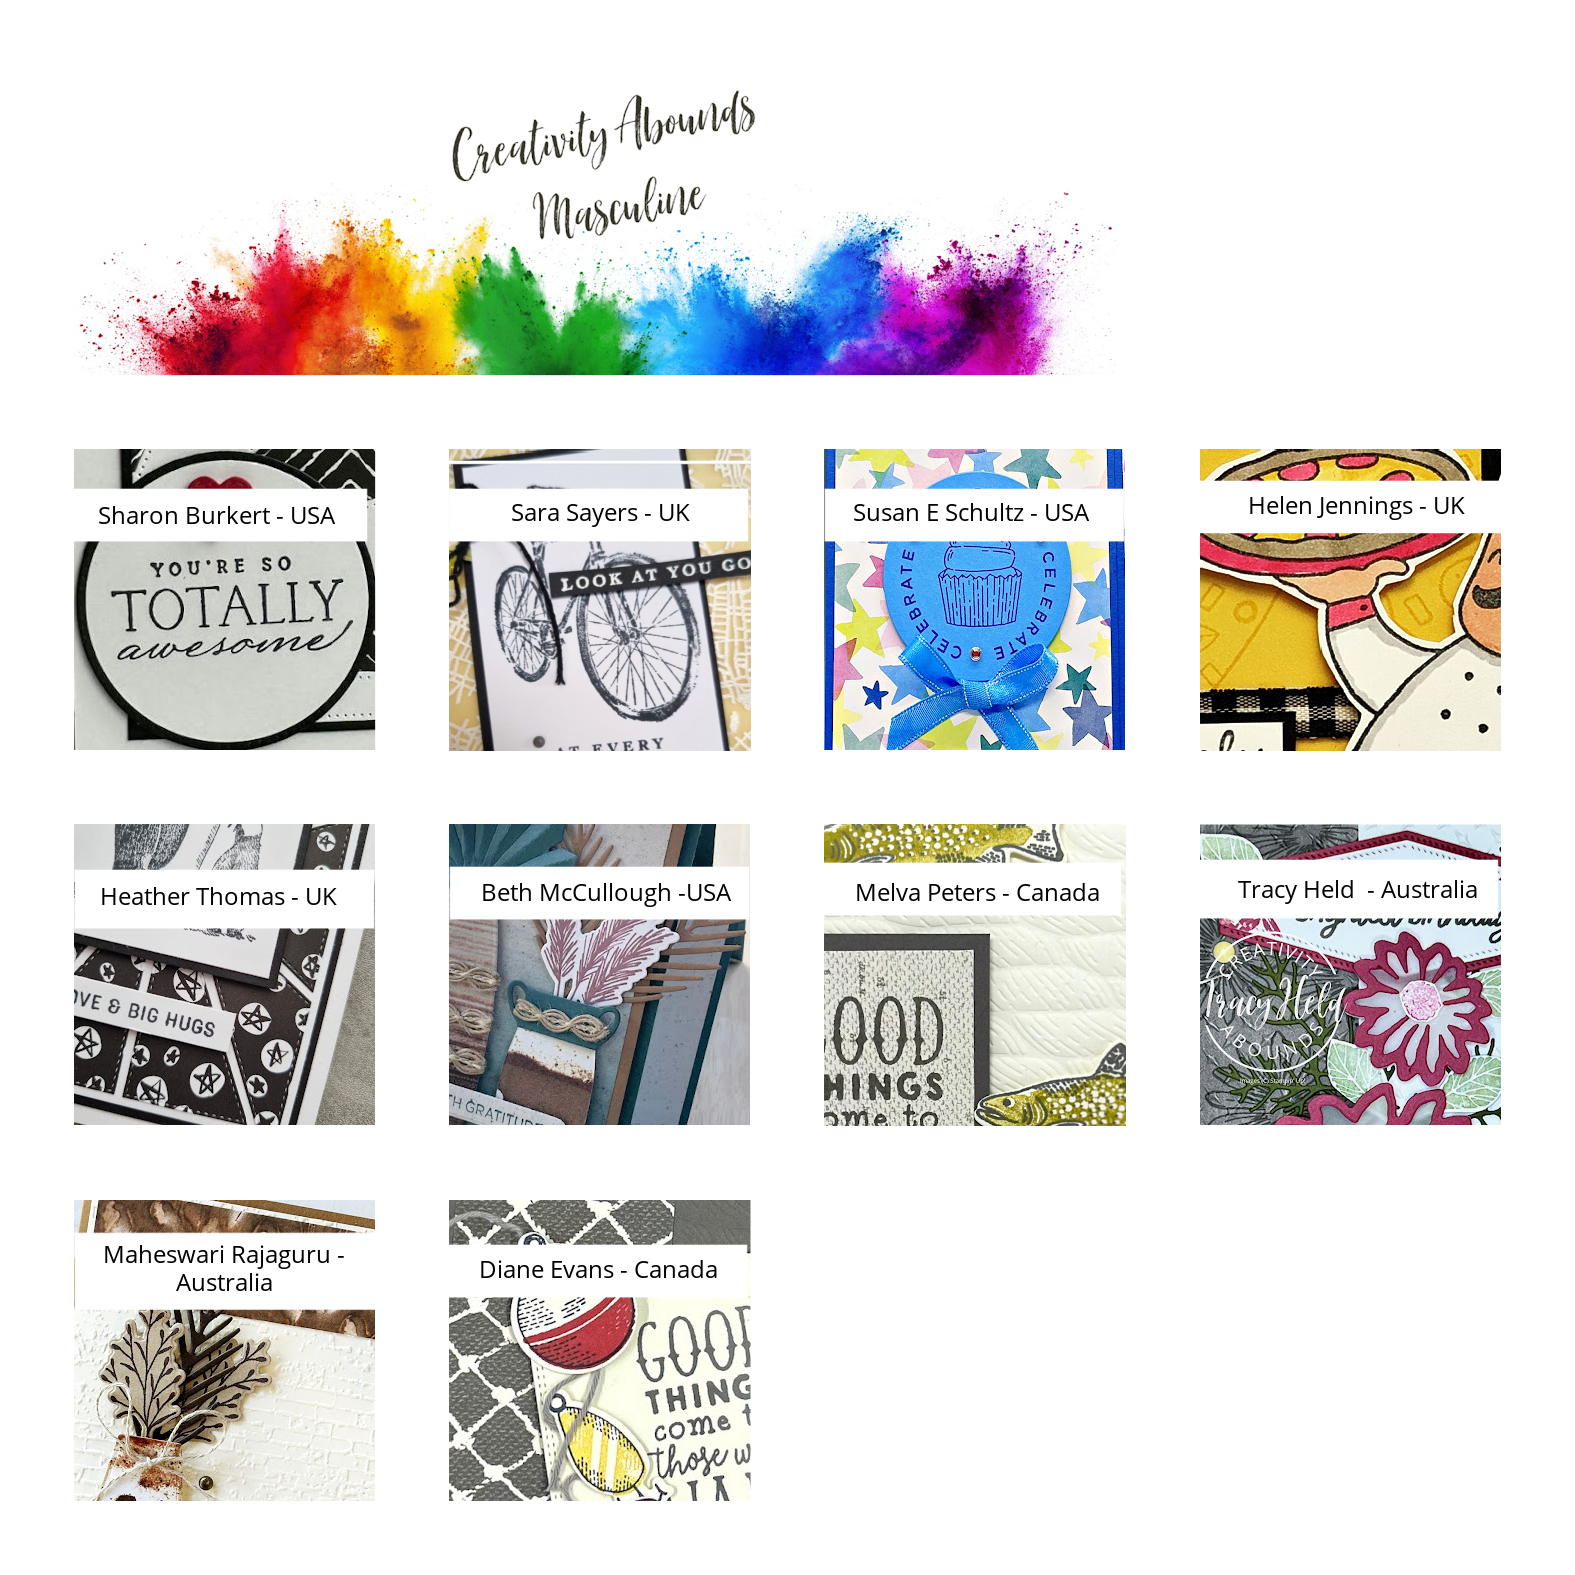
Check out the cards I shared this month in the tutorial.
.jpg)
Monthly Card Club

I'm excited to be offering a Monthly Card Club either In Person or by mail. Each month I will select a stamp set or bundle to feature. You will make 3 cards with envelopes and receive 1/2 package of Designer Series Paper, package of Embellishments and a roll of ribbon or embossing folder. Cost is $45 In Person (or local pick up) and $50 mailed.
Add the bundle to your order for $72 plus shipping and taxes.
You can join my club monthly. If you join for 6 consecutive months and get a swag bag valued at $25 from me as a gift.
The In Person classes will be held on the last Sunday of each month from 10am to 12noon or 1-3pm. Space will be limited to 3 people per class and masks will be mandatory (as well as any other requirements announced by the Provincial Health Officer).
Registration is now open for the August Club featuring Gone Fishing! Check out these sneak peeks.
.png)
Your Creativity Awaits

The August Kit features Darling Details Bundled from the Stampin' Up! 2023-2024 Annual Catalogue.
Do you love to craft and are you looking for a kit that ships directly to you each month with special perks each month? Then you will LOVE “YOUR CREATIVITY AWAITS”!
With “Your Creativity Awaits”, each month you will receive an exclusive make and take kit (2 cards of 4 designs) plus a PDF Tutorial. All for only $60 per month shipped directly to you or $56 local pick up.
After 6 consecutive months of membership, you will receive a thank you of $25 product credit (before shipping and taxes) to spend on whatever you choose!
Each month, the Design Team will choose one stamp set or bundle and design fun projects for you to create. The stamp set is included in your kit. If you don't already own the dies or punch, you may add it to your kit or use what you have.
- Featured stamp set - Darling Details
- 6 Cards (all different designs) - designed by Your Creativity Awaits Team
- Exclusive Project tutorials you can follow along with to create your cards
- Extra product (value will depend on the price of the stamp set)
Cost
- Shipped: $60 monthly
- Porch Pick-up: $56 monthly
- Add on $54 extra for the dies
Your Creativity Awaits Kit Timelines
- The upcoming kit information including supplies needed will be announced by the 15th of the previous month
- Sign up must be done by the 2nd Sunday of the month
- Kits will be shipped and tutorials emailed out by the 4th Tuesday of the month (subject to unforeseen delays in the shipment of product from Stampin’ Up!)
- Available to Canadian Residents Only
The August kit features the Stampin' Up!® Darling Details. Check out the sneak peeks!

- Visit my Online Store here
- Shop the Clearance Rack here
- Earn FREE Stampin' Up! Products - Join my Rewards Program
- Join my Team here
- Check out my Tutorials for Sale
- Check out my Upcoming Events
- Buy Retired Stampin' Up! Products (Canadian Residents Only)
- Subscribe to Paper Pumpkin
- Monthly Christmas Stamp-a-Stack - August 2023 features Regal Reindeer
- Your Creativity Awaits - August 2023 - featuring Darling Details
- Monthly Card Club - August 2023 - featuring Gone Fishing
- Holiday Crafting Day - September 30, 2023
")


 Designer Series Paper")


 Specialty Paper")


No comments
Post a Comment